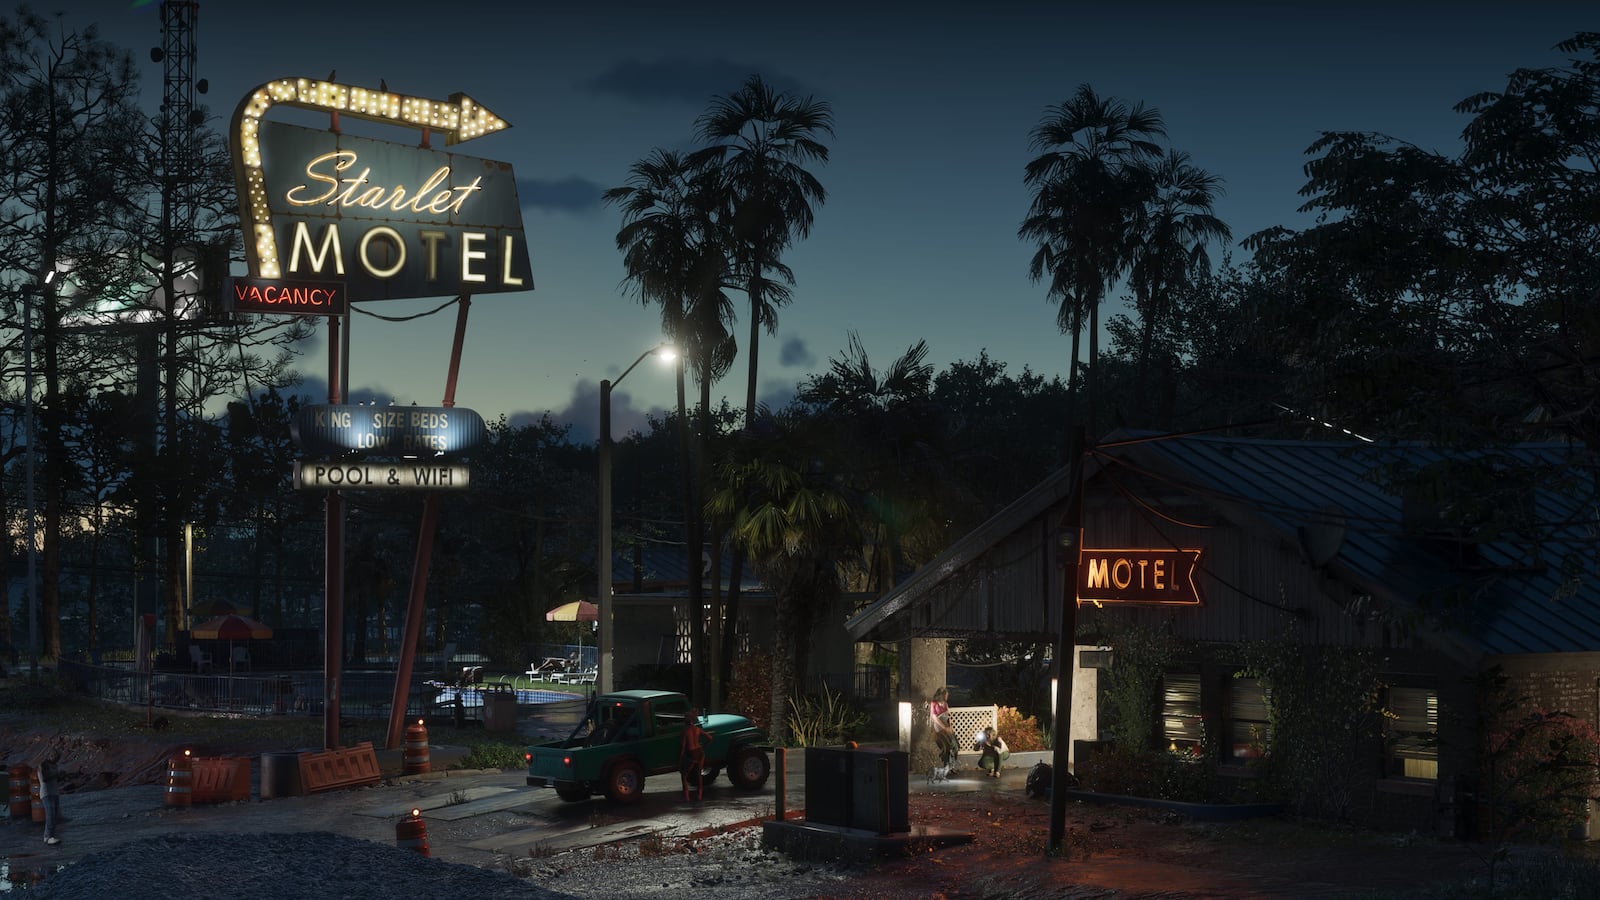
⚡ In short: you play as Lucia. Moses, a Port Gellhorn mechanic, can find her a car. He teaches you to spot trackers, gives you a tool to force car doors silently, then registers your first vehicle. The key point: show up with a car that has no tracker.
Story reveals are hidden: click on them to display them.
Before you start
- Prerequisite: finish Girl's Trip. It's Vicki who points Lucia to Moses to find her a way to get around.
- The start: just drive into Moses's garage, in Port Gellhorn, in Kelly County.
- Pick a modest car. According to PowerPyx and GTABase, small cars generally have no tracker. Mid-range models have a standard tracker, supercars an advanced tracker.
Step by step
Learning to spot trackers
- Drive into the garage and talk to Moses.
- Follow him into the yard, behind the workshop: three vehicles are parked there.
- Scan them with the WAiNK app. Hold up on the D-pad to open it, then hold R1 / RB to scan. In the bottom right, the game shows whether the car has no tracker, a standard tracker or an advanced tracker. According to VGC, the scan also shows what garages would pay for it.
The Slim Jim
- Pick up the Slim Jim lying near Moses. This tool lets you open a car without setting off the alarm.
- Try it on the Montagne XL: press Triangle / Y at the door, then tilt the right stick until the gauge turns from white to pink.
Registering your vehicle
- Go back to the garage with Moses. He offers to register a stolen car.
- If the car you brought has no tracker, you can register it right away. Otherwise, Moses sends you off to find another one.
- In that case, go to the main road that runs through central Port Gellhorn, scan the cars and steal one with no tracker. Bring it back to the garage.
- Respray it a different color, then choose Register. It becomes Lucia's personal vehicle.
Pitfalls to avoid
- Don't steal too close to the garage. According to PowerPyx, Moses refuses a car taken near his place, but accepts the ones from the main road through the center.
- Trackers come at a price. A standard tracker tells the police where the theft happened. An advanced tracker sends them after you if you drive too slowly.
- The Slim Jim isn't enough for everything. According to VGC, keyless cars, especially supercars and hypercars, can't be opened silently with this tool. For advanced trackers, you need the key cloner, obtained in chapter 3.
- Avoid witnesses. GTABase advises targeting cars parked on their own, at the back of parking lots, away from busy streets: people are slower to call the police.
- Only one personal vehicle at first. To register another one, you need to buy garages to get more spaces, or sell your current car.
What you unlock
Lucia leaves with her car, registered at no cost, and with the Slim Jim. The Scooter Bros app then lets you have your vehicle dropped off near any road. Above all, Moses's garage becomes a source of quick cash: he buys back tracker-free stolen cars. After each sale, he closes for one to two minutes. For now he refuses cars fitted with a tracker; according to the guides, that option comes later, with another character, in chapter 3.